Applying a Discount to Student Fees:
-
Login as Admin: Log in to the admin panel using your credentials.
-
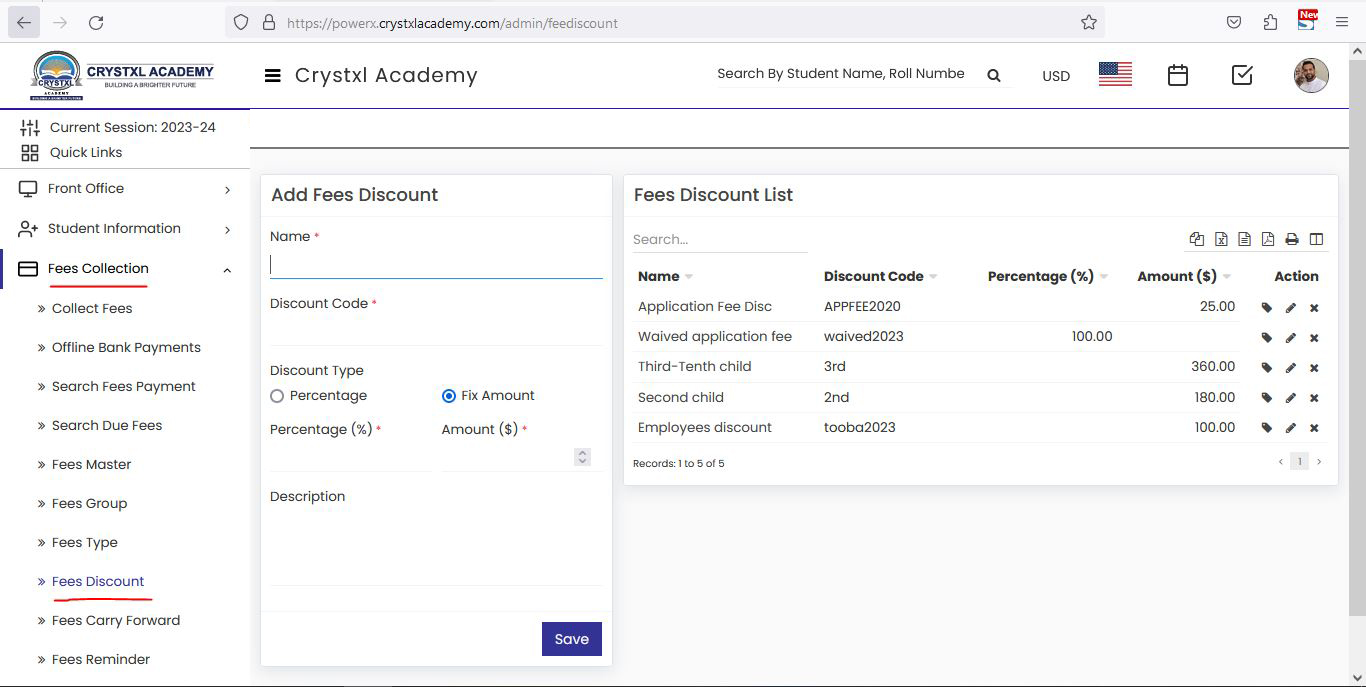
Access Fees Discount:
- Navigate to the "Fees Collection" section.
- Click on "Fees Discount.
-
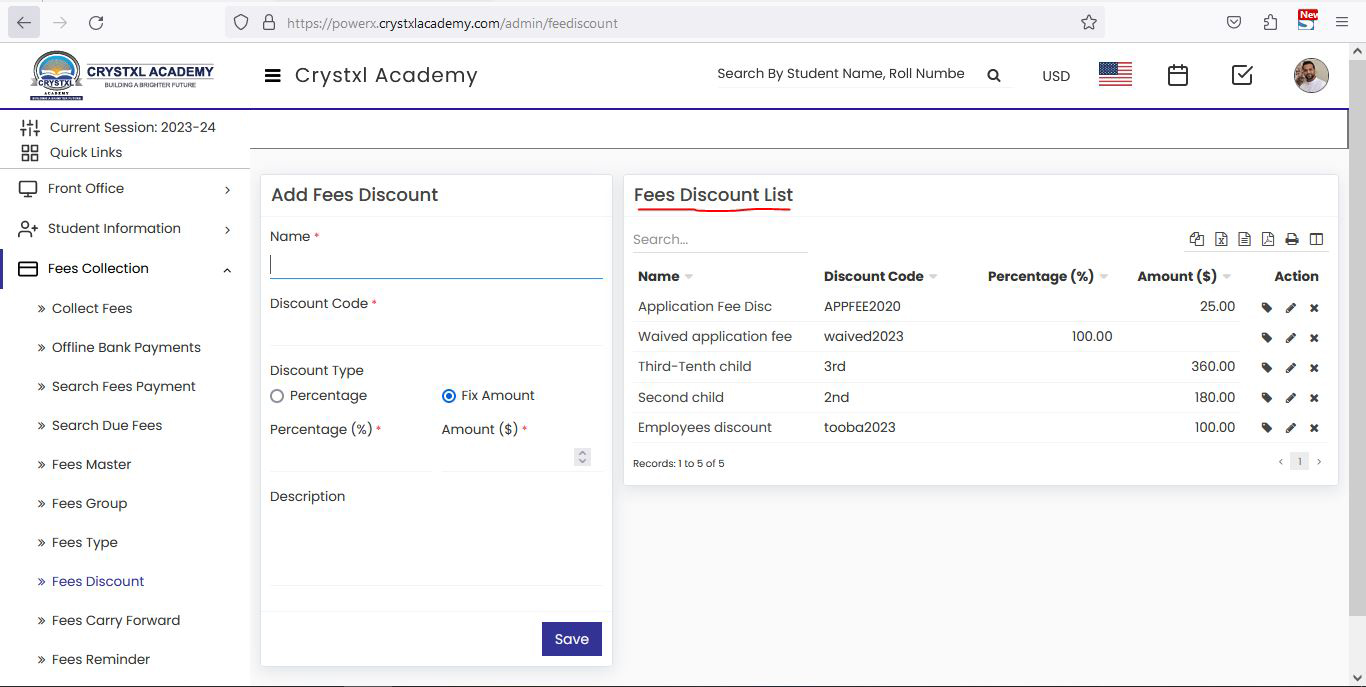
View Existing Discounts:
- On the right side, view existing discount amounts.
- On the right side, view existing discount amounts.
-
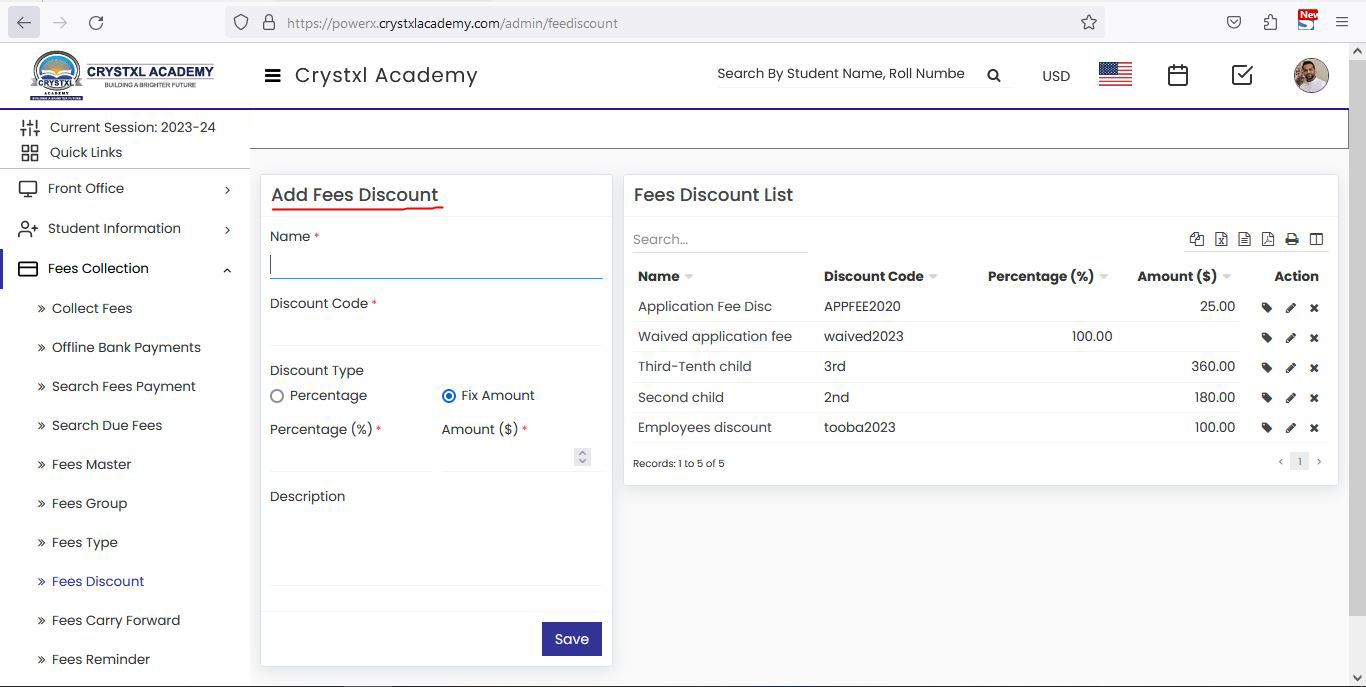
Add New Discount:
- On the left side, find the "Add Discount Fees" form.
- Fill in the necessary details for the new discount.
-
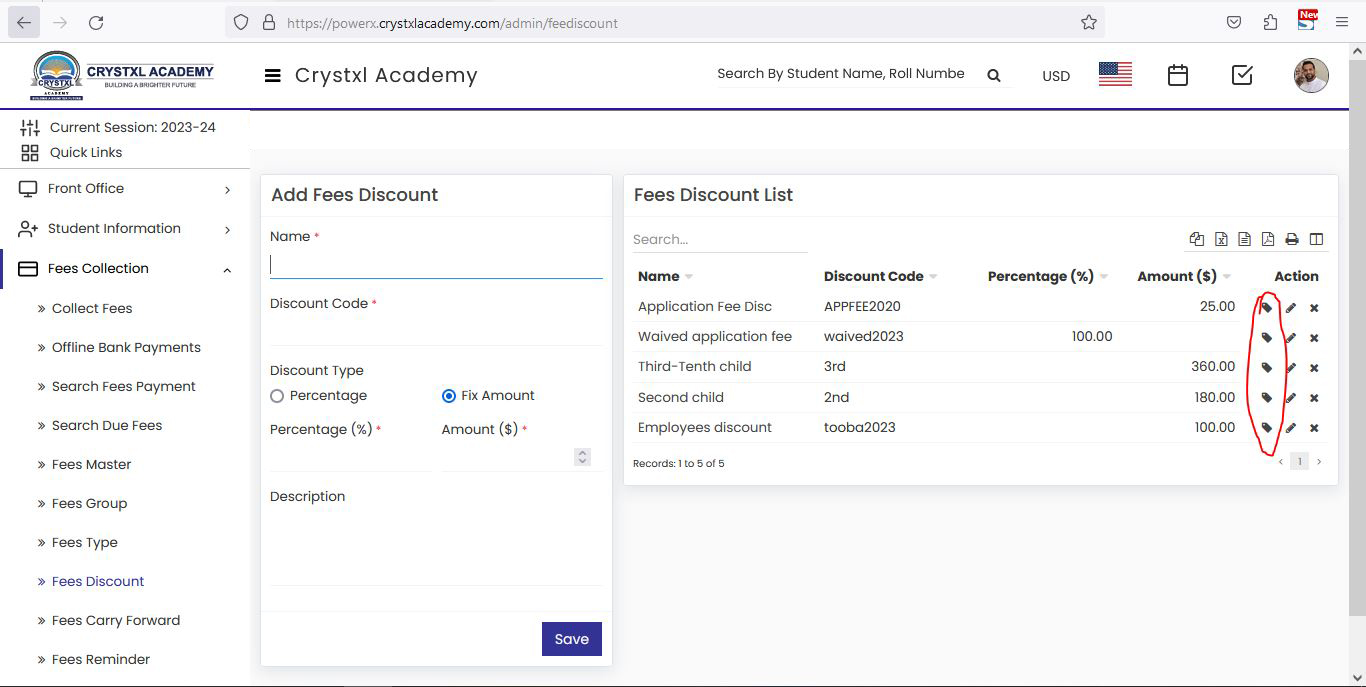
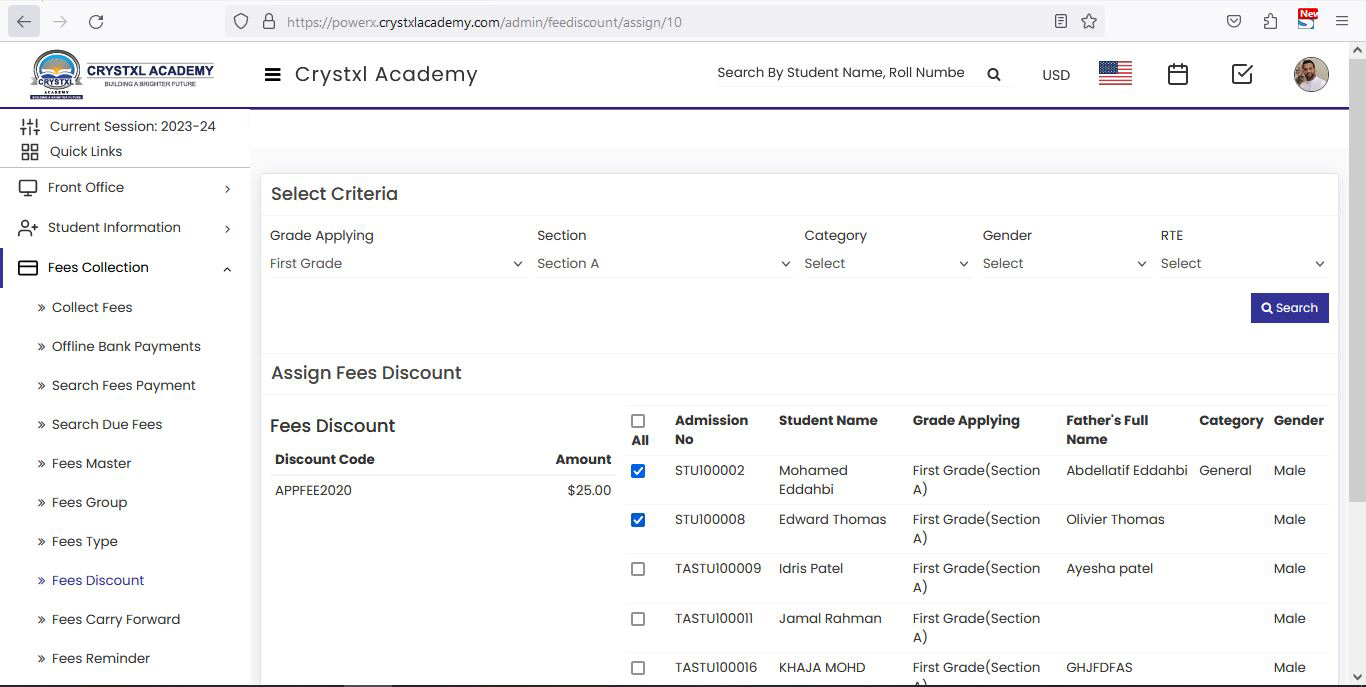
Assign Discount to Students:
- In the "Action" column, click on the "Assign" button.
- Select the Grade and section of the student(s) for the discount.
- Click "Search."
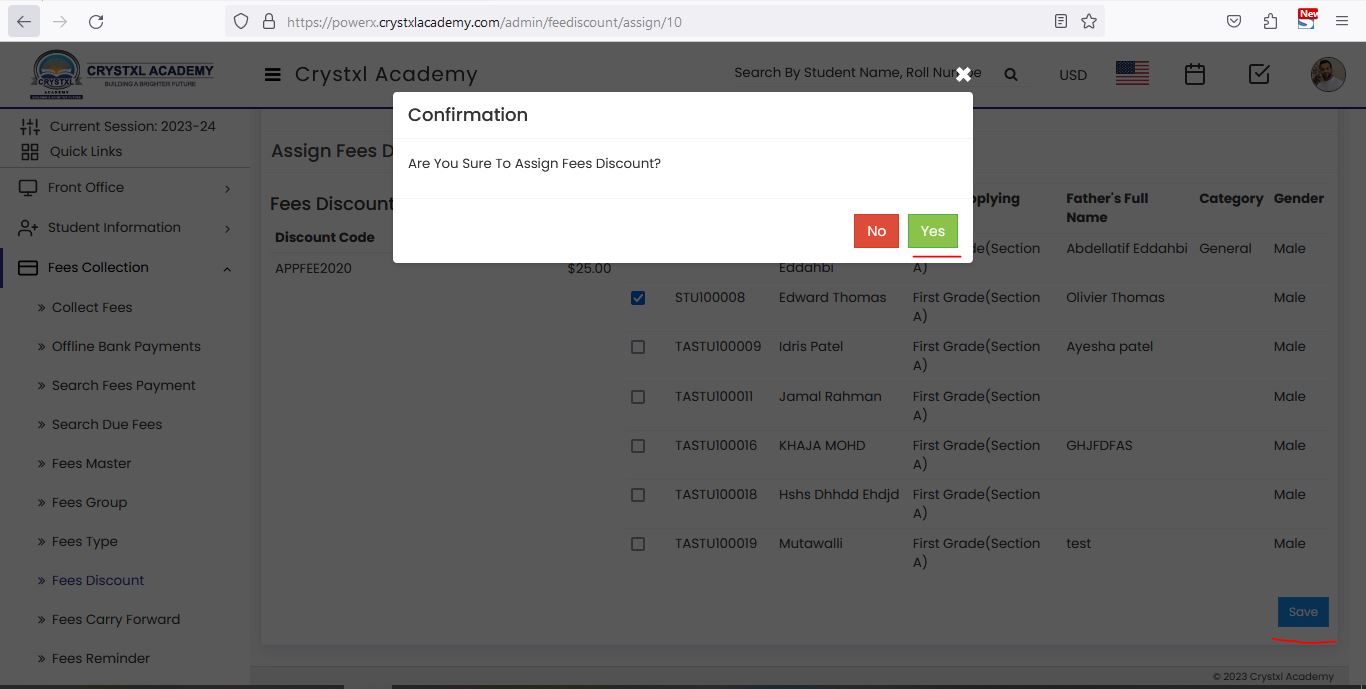
- Check the student(s) you want to assign the discount to.
- Click "Save" and confirm any pop-up prompts.
-
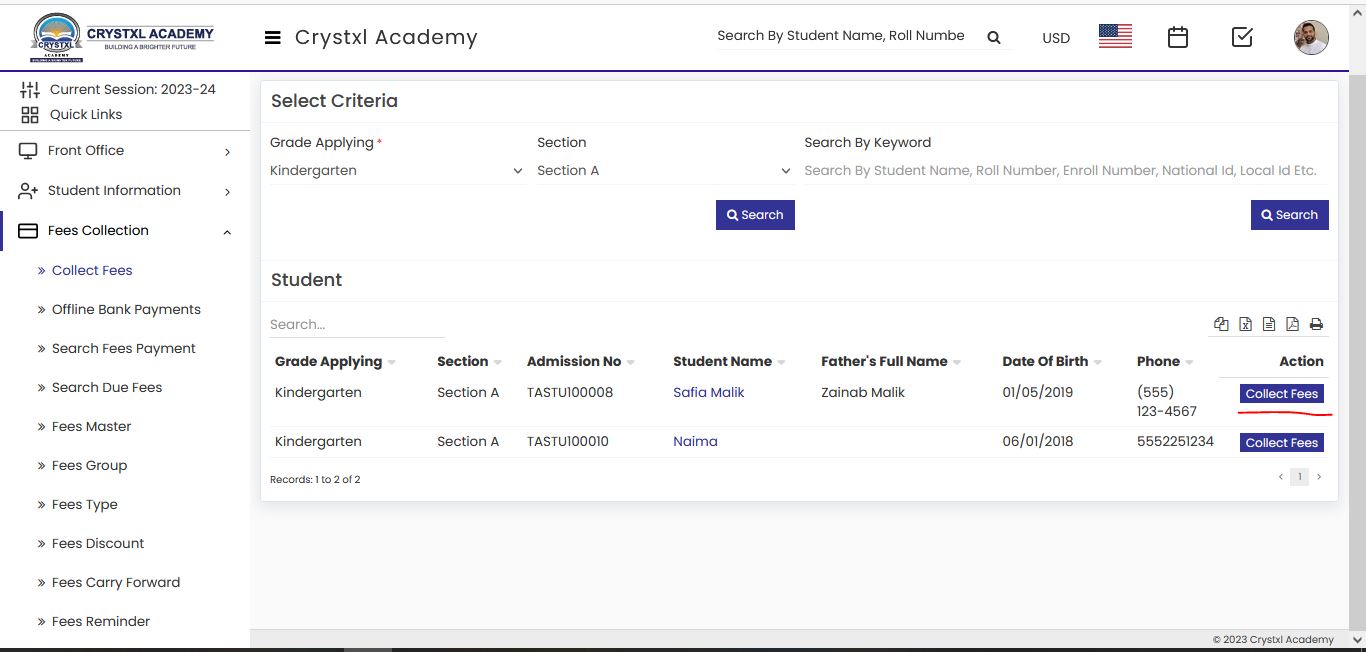
Collect Fees:
- Go to the "Fees Collection" section and click on "Collect Fees."
- Search for the specific student for whom you assigned the discount.
- Click "Collect Fees."
-
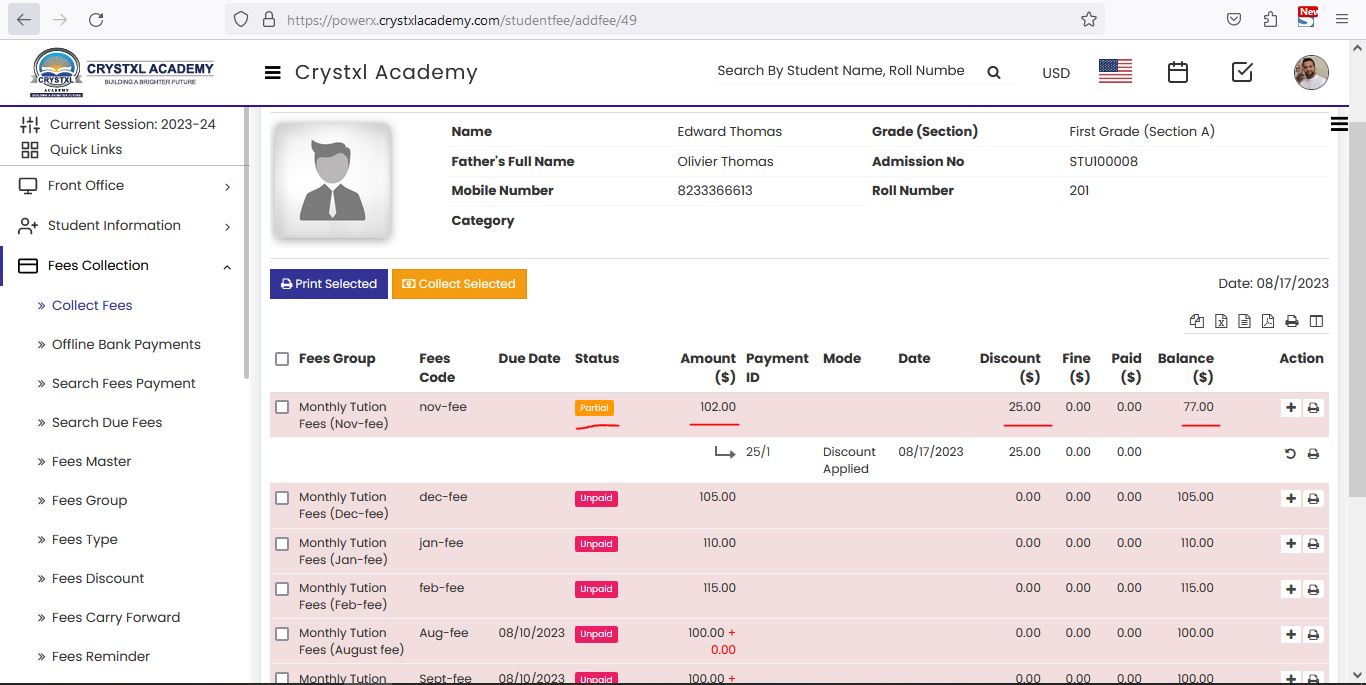
Apply Discount to Fee:
- In the fees page, locate the "+" button in the action section and click it.
- A pop-up form will appear.

-
Fill Pop-up Form:
- In the pop-up form, choose the appropriate discount type.
- Set the "Amount$" to '0'.
- Select the payment mode as "discount applied."
- Optionally, add a description.

-
Collect Fees:
- Click "Collect Fees" to proceed.
-
View Amounts:
- On the page, observe the "Amount," "Discount," and "Balance."
- On the page, observe the "Amount," "Discount," and "Balance."
-
Parent Payment:
- The balance amount shown should be paid by the parent.
- If paying online, the parent can access the parent/student panel.
By following these steps, you'll be able to successfully apply a discount to student fees in an organized and efficient manner.